


Hydrangea Care | Planting Tips and Maintenance
When you follow these expert hydrangea care tips and tricks, you’ll soon be enjoying a yard full of blue and pink blossoms.
By Shelley Wigglesworth|Jul 27 2022|
![]()
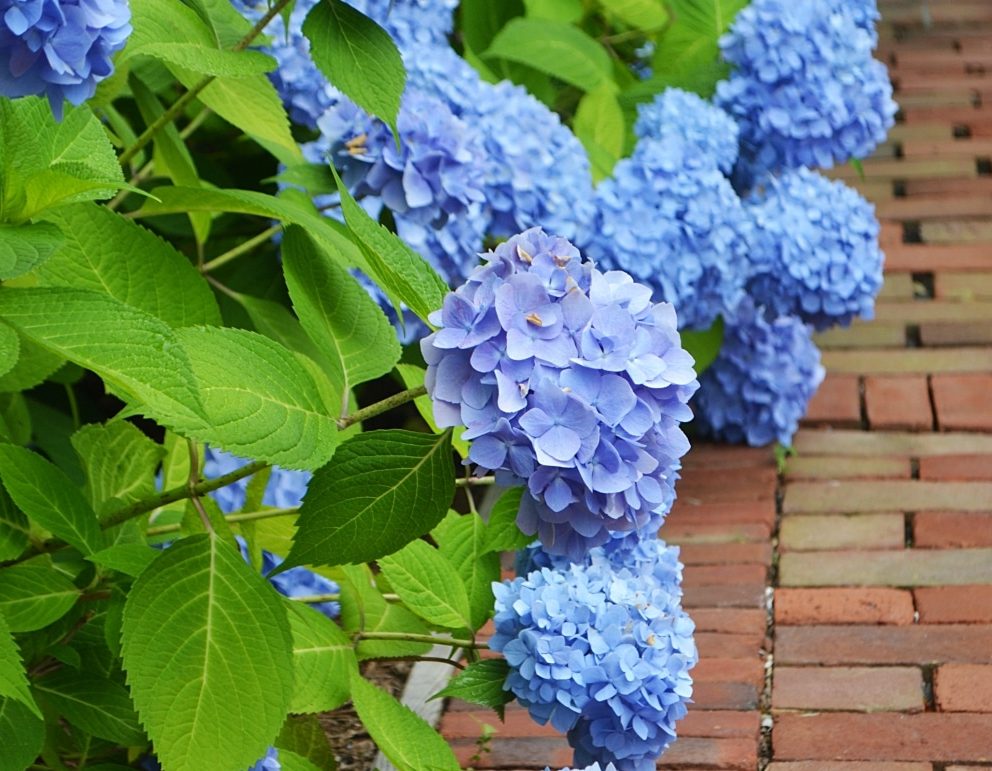
Bigleaf hydrangea on Cape Cod.
Photo Credit: Aimee TuckerHydrangeas are a beautiful garden shrub known for their brightly colored and uniquely shaped blossoms. Hydrangea care can be a little intimidating, but once you know what you’re doing, your plants should flourish without trouble.

Photo Credit : Aimee Tucker
Changing Blossom Colors | Hydrangea Care
Hydrangeas have been coined “nature’s own pH tester” as the colors of the showy blooms the shrubs produce are dependent on the acid level of the soil in which it grows. Plants growing in acidic soils tend to produce flowers with blue hues, while those grown in alkaline soils usually sport blossoms in shades of pink. White hydrangea flowers indicate a neutral soil pH. The color of your hydrangea blooms will give you a good indication of the soil content’s make-up.
You can modify the flower colors of hydrangea plants and bushes by simply amending your soil. For hues of blue, add aluminum sulfate to the soil before the appearance of buds. For pink hues, add superphosphate to the soil before the plant begins to bud. For best results, consult with the staff at a reputable garden center or trusted greenhouse or nursery for recommendations on the amount of soil amendments you should use.
Planting Tips | Hydrangea Care
1. When planting or transplanting a hydrangea, be sure to keep the root ball moist until you’re ready to put the plant into the ground, keeping in mind that hydrangeas generally prefer well-drained, rich soils.
2. Dig a hole as deep as the root ball and approximately twice the width.
3. Loosen the root ball by gently teasing the roots with your hand before placing it in the hole. Do not plant the root ball too deep.
4. Mix 3 cups of compost with 3 cups of peat thoroughly and add it to the hole before filling the soil back in. You may need more or less depending on the size of the hole.
5. Tamp the soil and add mulch to the top of the backfilled soil.
6. Be sure to water well during the first season after planting to lessen the effects of shock and to give the roots a good chance to become established.
Maintenance | Hydrangea Care
After the hydrangea is well-established — this usually takes 2-3 years — remove weak and damaged shoots at the base of the shrub annually to concentrate the energy of the plant. Keep the majority of the older, healthy-growth stem of the shrubs to maintain strong, hardy plants. Remove dead wood shoots and any thin or damaged shoots in the fall after the peak-blooming period has passed. Wait at least 5 years before pruning the hydrangea severely in the fall to make sure the plant is established enough to bounce back in the spring with vigor.
This post was first published in 2014 and has been updated.
Do you have any hydrangea care tips? Share your knowledge in the comments below!
SEE MORE:
Hydrangea Care | My Hydrangea Doesn’t Bloom
The Cape Cod Hydrangea Festival


Does anyone have tips on how to grow potted blue hydrangeas year round indoors?
My hydrangeas will not flower. They are more than 4 years old? What do I do?
i have the same problem! help?!
How do you get Hy dran. to bloom after so many years? and how do you take care of them?
A couple of tips from experience:
1. Don’t water daily or too often otherwise the roots will be shallow and it will depend on frequent waterings
2. A lot of folks complain about their hydrangea not blooming. This is common if you prune in the fall as that is when the shoots for next year form the flower buds. You must prune early. Just look closely and you will see where the buds are.
3. I moved into a home where the hydrangea were watered often and also sprayed with fungicide too often. These plants relied on the daily water and on the fungicide. They were prone to wilting on hot days and prone to fungus. I removed some and cut back some. The ones with no fungus came back fine, the ones with fungus are still prone to fungus, so the lesson learned here is that if they are weak, just removed them and plant healthy stock. Just remember the more you tend to them, the more they will rely on you.
I use coffee grounds in the soil in the spring to produce blue flowers!! Just mix in the soil first thing early spring.
Seek out a good plant nursery, they have great knowledge on all plants, I’ve gotten wonderful info.
Visit your local garden nursery. I also keep all my coffee grounds and spread them everywhere. Along with mushed up eggshells (calcium). My blue jays and woodpeckers love the apple peelings.
Mine don’t flower
I had a new plant that wasn’t flowering. It was in a shady spot, so we moved it to a spot with more sun and lighter shade. Presto — blooms! More recently the plant split and we moved half to even lighter shade and some pm sun. There are more blooms in the new spot compared to the part still in the old spot.
My Mom was a great gardener. She told me to put an iron nait in the soil
I use coop poop. It is fertilized chicken poop and you can find it at nurseries or Irder it at Ace hardware
Barbara, you may be over pruning. Don’t for 2 years.